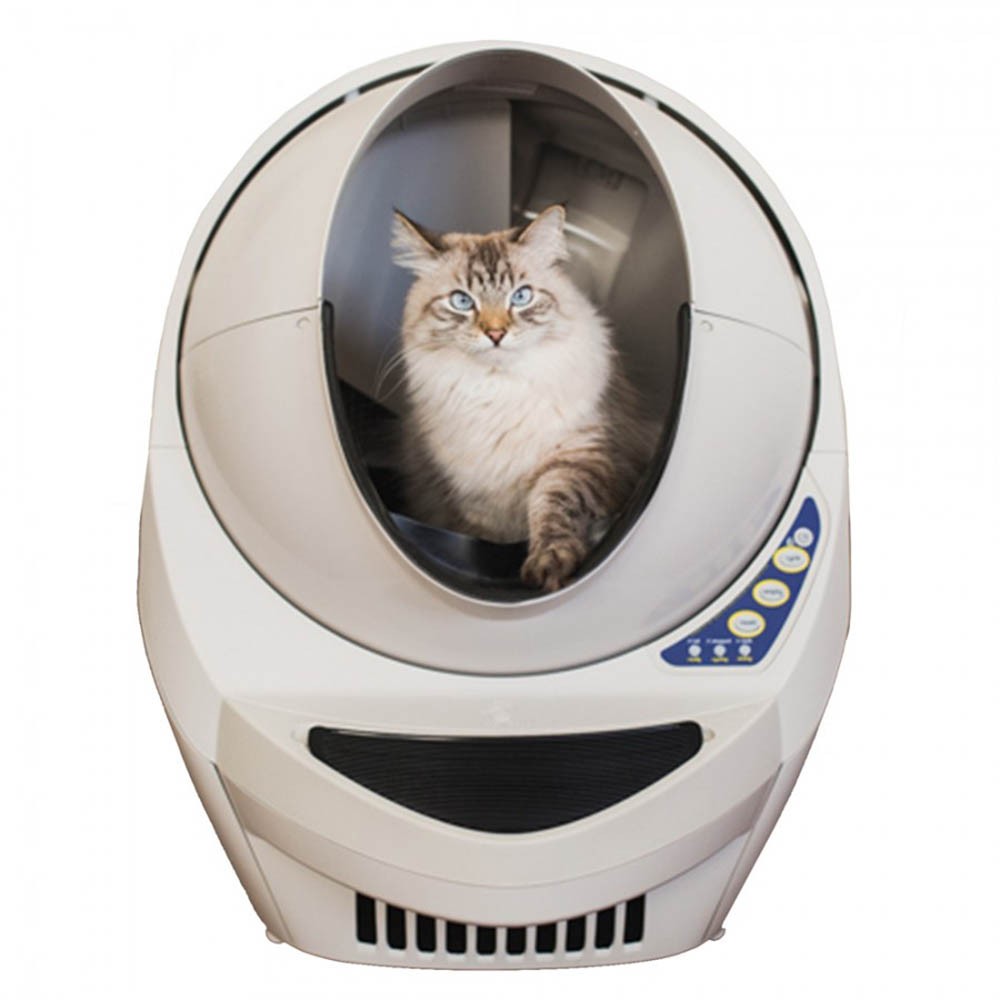
Litter-Robot III Open Air Basic Troubleshooting Guide

UPDATED: Litter Robot 3 Ultimate Troubleshooting Guide
Since the release of the Litter-Robot III Open Air, we have received many demands for a troubleshooting guide for this robot. We have therefore decided to help our customers out by creating this basic Litter-Robot III Open Air Basic Troubleshooting Guide.
All Litter-Robot III Open Air's purchased with us comes with a 12-month manufacturer warranty (2 years for Europe). However, before having customers send the product for repairs, we suggest verifying the following: 1. Turn the power Off and unplug the Power Supply from the Base of the unit.
2. Remove the Bonnet from the unit and set it aside, then remove the Globe and set it aside making sure that it does not roll.
3. Ensure the Base is properly situated on a hard level surface, that it is not pushed against a wall, and has nothing resting on it. Empty the Waste Drawer regardless of how much waste is collected.
4. Put the Globe back on the base unit and ensure that it is on the track. If you feel that the Globe is heavy to one side or another, check in the Litter Pocket to make sure that there is no wet or clumped litter stuck that is throwing off the weight of the unit during cycling. Ensure the Globe is filled to the Fill Line and not above the Fill Line.
5. Replace the Bonnet ensuring all 4 tabs are in place and lock the black Key on the back of the Globe into the slot.
6. Ensure no part of the unit is pushed against a wall, or has anything resting against it. 7. Plug the unit back in and Power the unit On.
8. The unit should start to cycle, upon return, the unit will perform a "reset" and use that weight as its baseline moving forward.
9. Press the 'Cycle' button again to test that it can complete a cycle and return to the home position with a Solid Blue LED. Once completed, move on to step 10.
10. Press on the Globe just above the entrance in a forward and down motion to activate the Cat Sensor (Red LED On). Let the unit continue the 7 minute timer, cycle, and return Home to a Solid Blue LED.
Thanks for helping to keep our community civil!
This post is an advertisement, or vandalism. It is not useful or relevant to the current topic.
You flagged this as spam. Undo flag.Flag Post


